DNSSEC
If DNS is the phone book of the Internet, DNSSEC is the Internet’s unspoofable caller ID. It guarantees a web application’s traffic is safely routed to the correct servers so that a site’s visitors are not intercepted by a hidden on-path attacker. These attacks usually go unnoticed by sites’ visitors, increasing the risk of phishing, malware infections, and personal data leakage.
https://www.cloudflare.com/en-gb/dns/dnssec/how-dnssec-works/
- How to check DNSSEC record?
One of the easiest ways to check whether DNSSEC has been implemented is to check for the DS record. You can do so by using dig commands (example with Cloudflare):
- Check Cloudflare’s side (to see if Step 1 mentioned above completed properly) with
$ dig cds domain.com @1.1.1.1 +short +noshort
- Check Registrar’s side (to see if Step 2 mentioned above were completed properly) with
$ dig ds domain.com @1.1.1.1 +short +noshort
–> Otherwise, an online tool (https://www.digwebinterface.com/) is very nice to check for bulk domains.
2. How to enable DNSSEC?
Example for Cloudflare: They said: “Cloudflare Makes DNSSEC Easy”
Universal DNSSEC is now available to all websites on Cloudflare, for free. We’ll do all the heavy lifting by signing your zone and managing the keys. Protecting your domain from DNS forgeries is just a few clicks away. All you need to do is enable DNSSEC in your Cloudflare dashboard and add one DNS record to your registrar.
- Log in to your Cloudflare dashboard.
- Open the DNS app.
- Scroll down to the DNSSEC module.
- Click Enable DNSSEC.
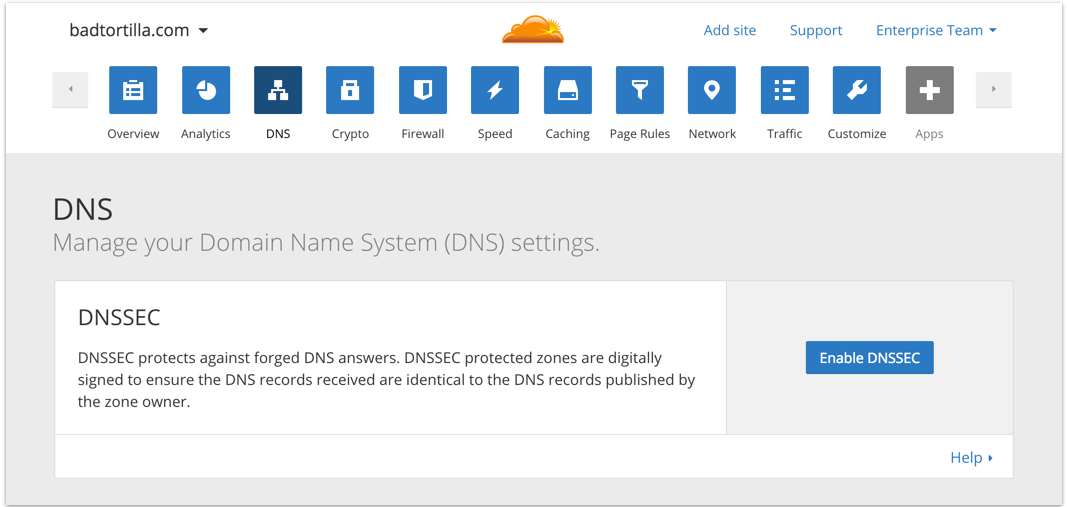
5. A pop-up will open with instructions for how to add the DS record to your registrar.
6. Copy the DS record and paste it into your registrar’s dashboard.
Once your registrar publishes the DS record, your domain will be DNSSEC-enabled. You can verify your DNSSEC configuration with the third-party DNSViz tool.