Azure Network EP2 – Azure Virtual Network (Vnet)
Azure-Network-EP2-Azure-Virtual-Network-(Vnet)
Hello Friends,
Let’s continue with Azure Networking. As said in my last article, I am going into exploring each component at the level of detail. Today in this article we will discuss on Azure Virtual network (Vnet). If you have missed our last articles, please check in following links.
Previous article: Azure Network EP1 – Basics of Azure Networking
An Azure Virtual Network (VNet) is a representation of our own network in the cloud. It is a logical isolation of the Azure cloud dedicated to your subscription. It provides the following benefits.
- Bring our own networks.
- Allow creating subnets with our private IP addresses.
- Bring our own DNS or use Azure – Provided DNS.
- Secure with Network Security Group ACLs.
- Control traffic flow with User Defined Routes.
Table of Contents
1. Create New Azure Virtual Network Using Azure Portal:
Connect to your Azure portal dashboard using your subscription account. If you don’t have any subscription, in that case you can get a trial Azure subscription with one month of validity. Then you can connect to the Azure portal dashboard and initiate a resource as in the following figure.
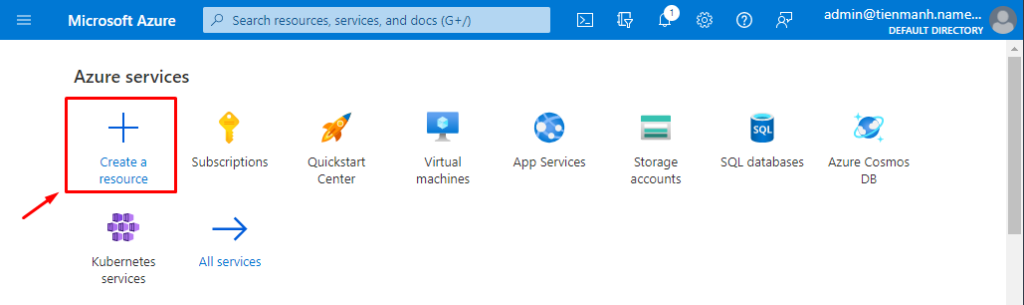
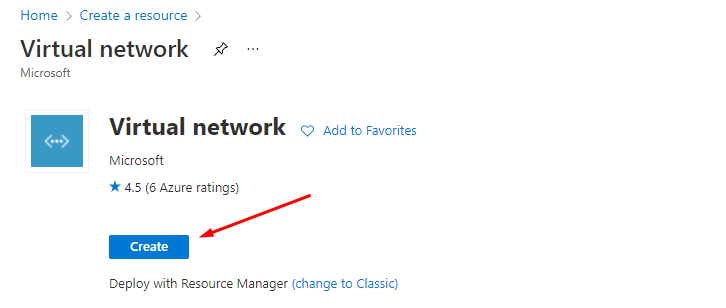
On the left side menu of the screen, select Create a resource > search for the “Virtual Network” option then click on it.

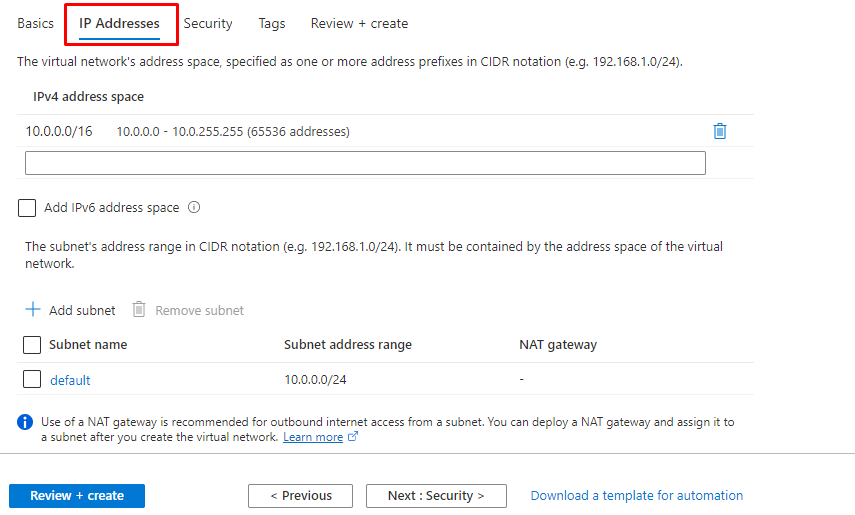
In Create virtual network page, enter or select the information like Name, Subscription, Resource Group, Location, Subnet – Name, Subnet – Address range.
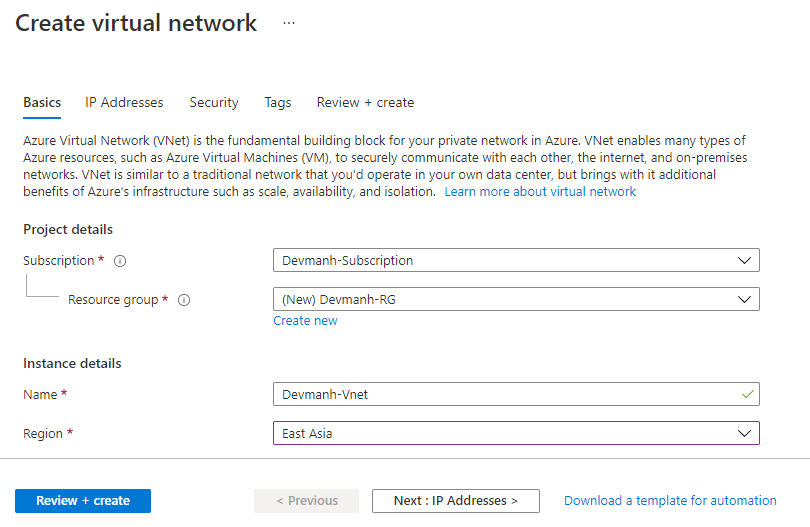
Here I have set the default address range for Subnet. There is a calculation on this by considering the IP mask. By default, the Vnet Address space is 10.0.0.0/16. This means, the first two sections are fixed and the Vnet will provide the address between 10.0.0.0 to 10.0.256.256 (65536 addresses). And later we will see how can we divide the total address among multiple Subnets.
The following image shows an example of V-Net with only 65536 Addresses.
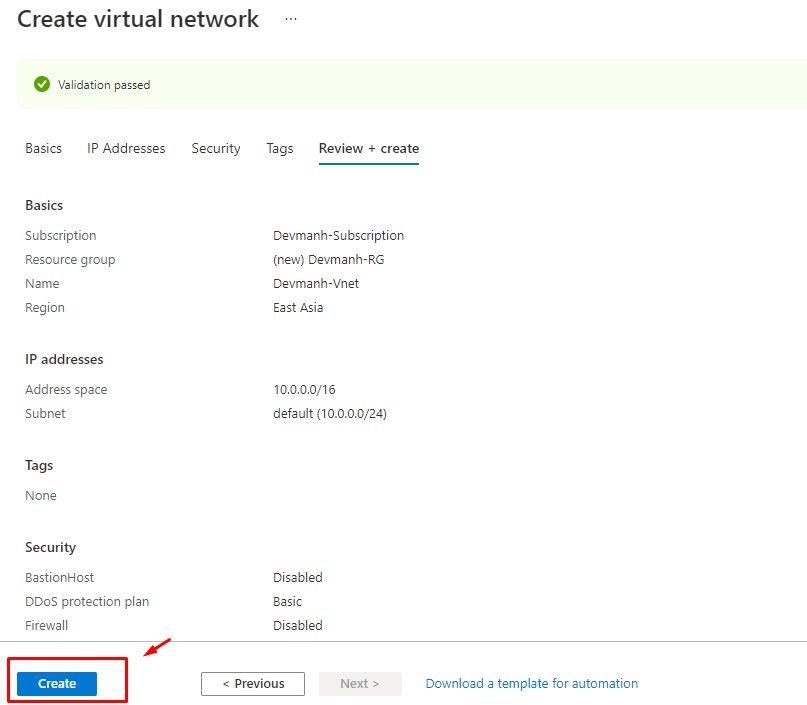
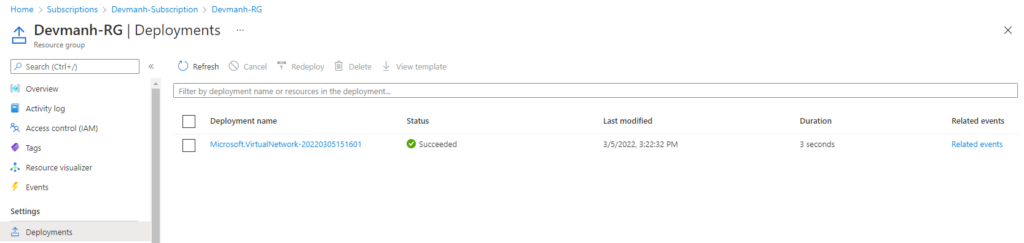
Leave the rest of the value as defaults and select Create button as shown in the above image. It will take a couple of seconds to create the Virtual Network as shown in the following image.
2. Create New Azure Virtual Network Using Power Shell:
In the above example, we have covered, how to create Virtual Network through Azure Portal. Now we will create a virtual network using Power Shell in a different resource group. So let’s create a new resource group in a different region for the new VNet.
Before we proceed to use the power shell, Open Cloud Shell in our browser or Click the Cloud Shell button on the menu in the upper right of the Azure portal as shown in the following figure. Those modules are pre-installed and easy to use. We can also install and use PowerShell locally.

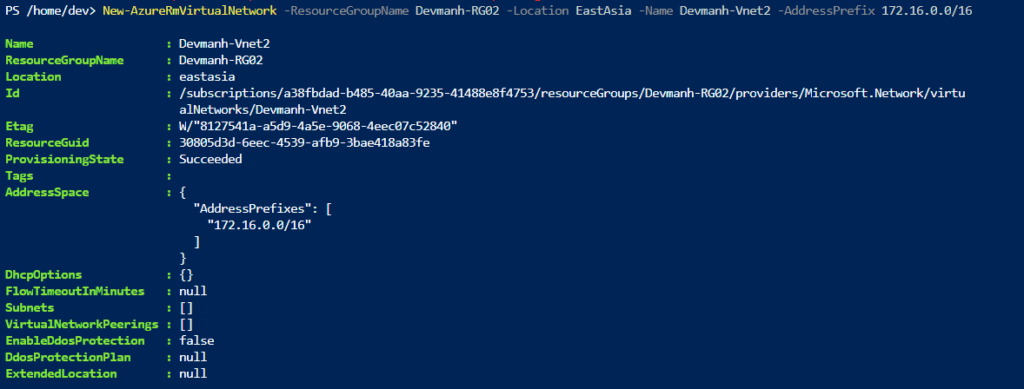
Now once we are ready with PowerShell editor let’s first create a new resource group with New-AzureRmResourceGroup and then Create a virtual network with New-AzureRmVirtualNetwork. the following example creates a new virtual network named “Devmanh-Vnet2” in the EastAsia location:
New-AzureRmResourceGroup -Name Devmanh-RG02 -Location EastAsia

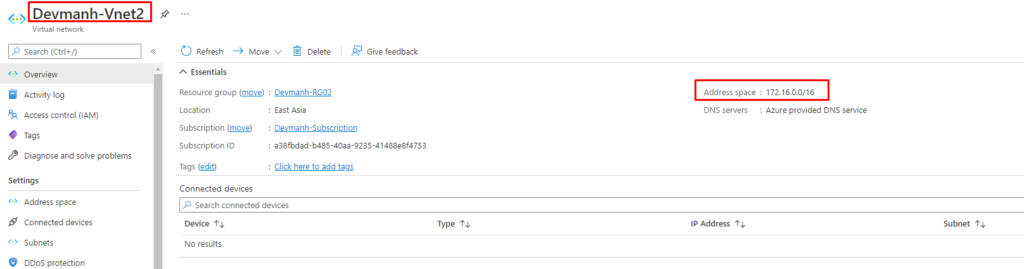
New-AzureRmVirtualNetwork -ResourceGroupName Devmanh-RG02 -Location EastAsia -Name Devmanh-Vnet2 -AddressPrefix 172.16.0.0/16
3. Create a virtual network using the Azure CLI:
Now we will create Azure Virtual Network using Azure CLI. Before we proceed to use the Azure CLI, Open Cloud Shell in our browser or Click the Cloud Shell button on the menu in the upper right of the Azure portal as shown in the above figure 11. Those modules are pre-installed and easy to use. We can also install and use Azure CLI locally.
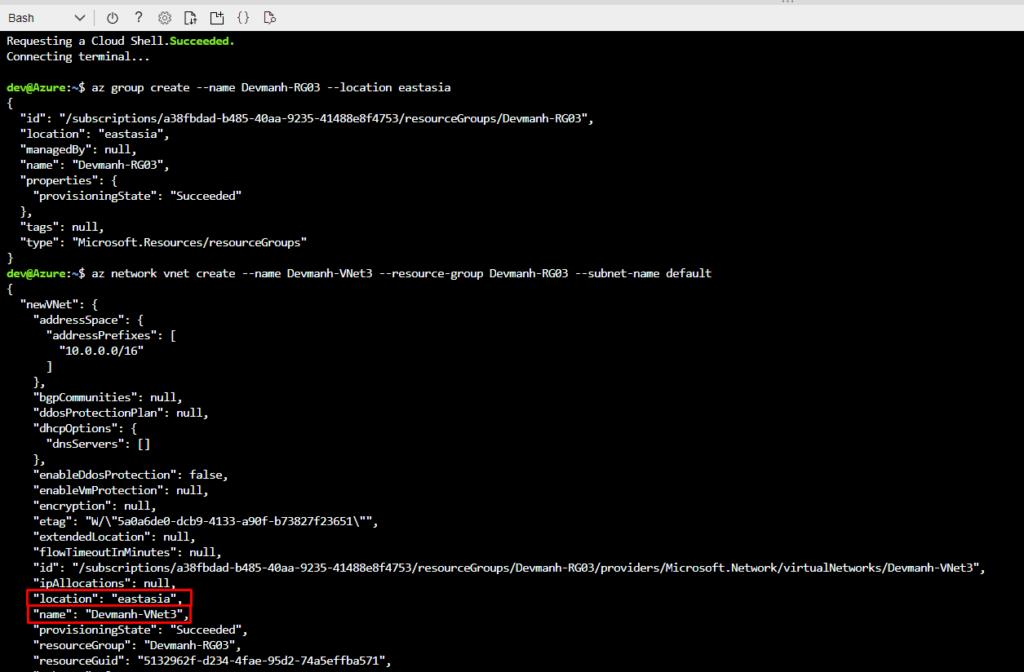
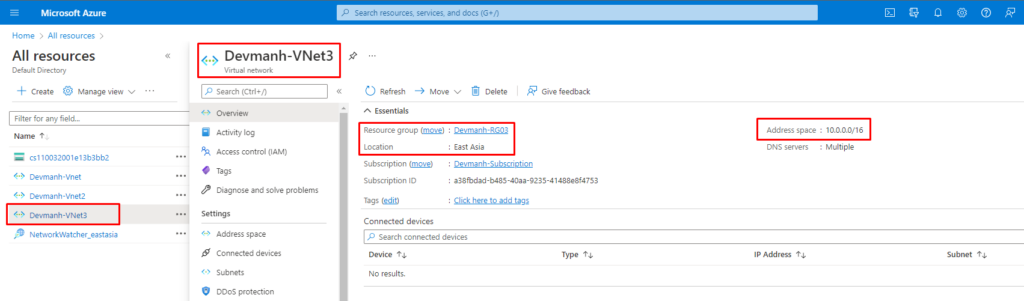
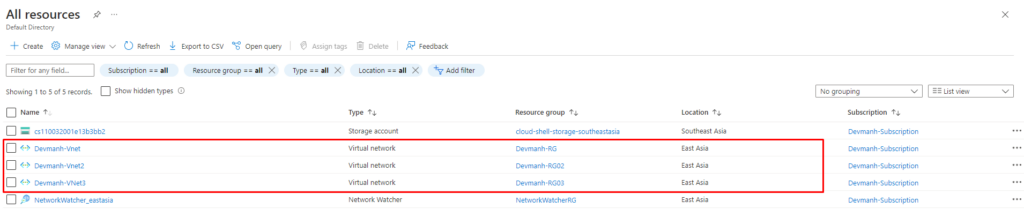
Let’s create a resource group to host the virtual network if not exists yet. Create a resource group with the az group create and Create a virtual network with “az network vnet create”. Following scrip is doing all the magic as we can see in the following figures.
az group create –name Devmanh-RG03 –location eastasia
az network vnet create –name Devmanh-VNet3 –resource-group Devmanh-RG03 –subnet-name default
In upcoming articles, we will discuss more on the best practices, to configure/plan Azure networking topology. The next article of this series is Azure Network EP3 – Subnet in Azure.
Thanks for reading 🙂
Keep reading, share your thoughts, experiences. Feel free to contact us to discuss more. If you have any suggestions/feedback/doubts, you are most welcome.
Stay tuned on Devmanh blog, will come up with more such articles.
Manas KJ and Devmanh Writer